
And the first display I ordered was already a complete failure. But let’s start from the beginning. Last week my wife found a digital photo frame on Amazon that can display a calendar. According to the marketing it is GDPR compliant, does not require a cloud, and all the usual buzzwords. Still, I don’t trust devices like that. Sooner or later they always end up abandoned by the manufacturer and become EOL.
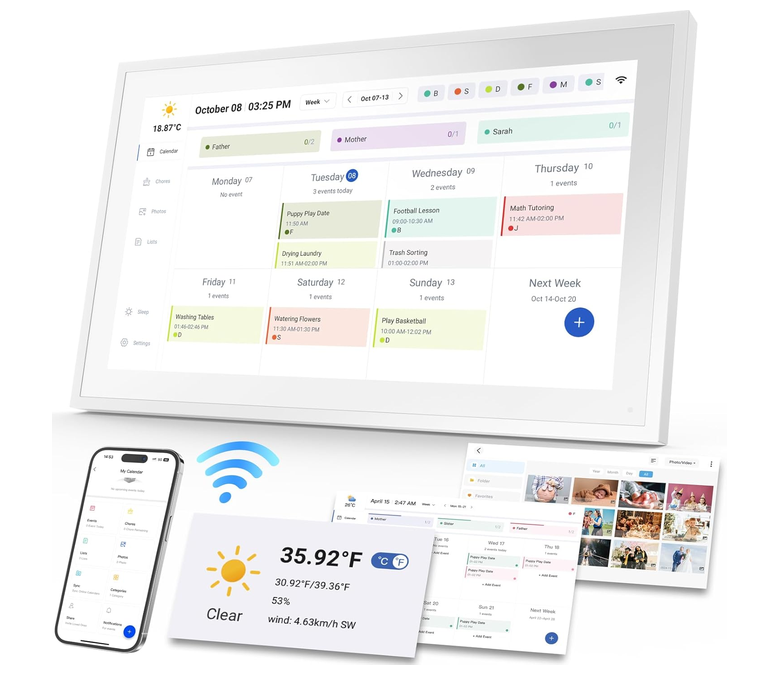
So I looked for an alternative and quickly realized that our Home Assistant instance can already do everything we need. Show calendars, school schedules, weather forecasts, household tasks… and about a million other things. With Home Assistant the possibilities are basically endless if you are willing to spend enough time on it.
Now I only needed a suitable display for the dining room. It should be reasonably large and cheap. Something around 15.6″ would be nice. My first thought was simply hanging an old tablet on the wall. Unfortunately I don’t have anything larger than 8″ at stock. And tablets always come with batteries. Batteries eventually die, and in the worst case they also become a fire hazard. Removing them is usually not an option either. Either the case is glued together or the device refuses to work properly without the battery. Buying a new tablet with a display larger than 10″ is also far from cheap.
The second idea was using a Raspberry Pi or an ASUS Tinker Board together with a 15.6″ touchscreen. I still have enough single board computers lying around because buying a new Raspberry Pi is almost a luxury these days. Displays have become surprisingly affordable, but many of them have limitations regarding touch support under Linux. Most of the time it is basically a lottery whether the display you receive actually works correctly. Then you still have to configure everything so the screen dims automatically, a screensaver starts, power management works, and so on. Hiding all the cables so the whole thing doesn’t look like a weekend DIY project is another challenge.
Eventually I stumbled across a Reddit post about digital photo frames. Many of them use the Frameo app from a Danish company. Searching for „Frameo“ gives you an endless list of almost identical devices. They are in facte very basic Android tablets without batteries. Touchscreen sizes up to 32″ are quite common, and they usually come with 32 or 64 GB of storage. The first frame I bought was based on a Rockchip RK3326, an SoC that was already released back in 2018. You could almost call it recycling old leftovers. Depending on the manufacturer these devices run anything from Android 6 (basically the Stone Age) up to around Android 13. The interesting part is that Frameo supposedly allows you to enable ADB. On many devices this also gives you root access immediately. Security-wise… well… let’s not talk about that. But in this particular case that works in our favor. Once ADB is available you can simply install the Home Assistant Companion App, a browser, Immich, or whatever else you like. A 15.6″ device starts at around €90 on Amazon, which is pretty cheap. Don’t expect any well-known brands though. They all seem to roll off the same production line somewhere in Shenzhen and then receive a different logo before being shipped
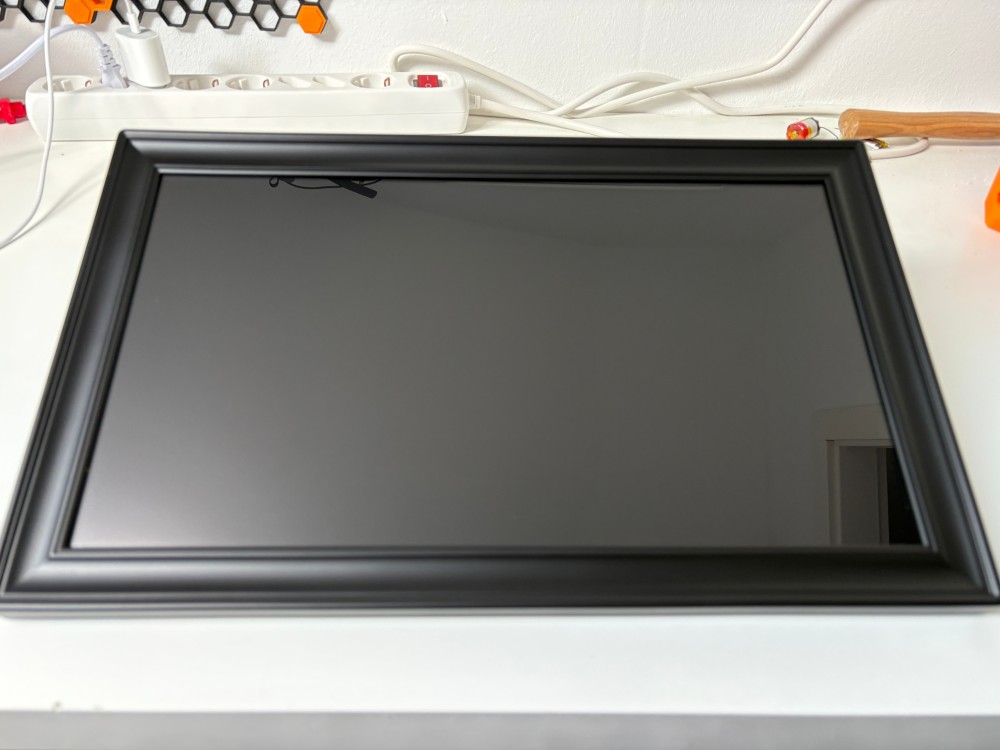
So I ordered one.It came with 64 GB of storage and was sold by a company called Yalilia (probably just another dropshipper). Model number 159K, FCC ID 2ATFT-159K. The actual manufacturer is Shenzhen Keijinmin Electronics Co., Ltd. At first glance the frame actually looked quite decent. Power is supplied via USB-C instead of one of those cheap barrel connectors. Then came the first disappointment. It only accepts power through a USB-A to USB-C cable. Apparently they even saved the few cents required for proper USB-C Power Delivery negotiation. So powering it from a modern USB-C charger with a USB-C to USB-C cable simply doesn’t work. You always need a charger that provides nothing other than 5V. Annoying.
Next I wanted to enable ADB. After the initial setup I opened the Frameo app, joined the beta program, and enabled ADB. The option can be found under the „About“ section of the app. Frameo even documents this in their own FAQ: https://support.frameo.com/hc/en-us/articles/6126183308434–How-to-Enable-ADB-on-Your-Frame
Then I connected the device to my Linux laptop. Nothing. Not even `lsusb` showed anything. That was unusual because even if there is no driver available, the USB device should at least appear there. It didn’t. I found another tip online saying that USB Transfer first has to be enabled inside the Frameo app. That didn’t change anything either. Someone else claimed that the USB port becomes active for a few seconds during boot. Not on my device.
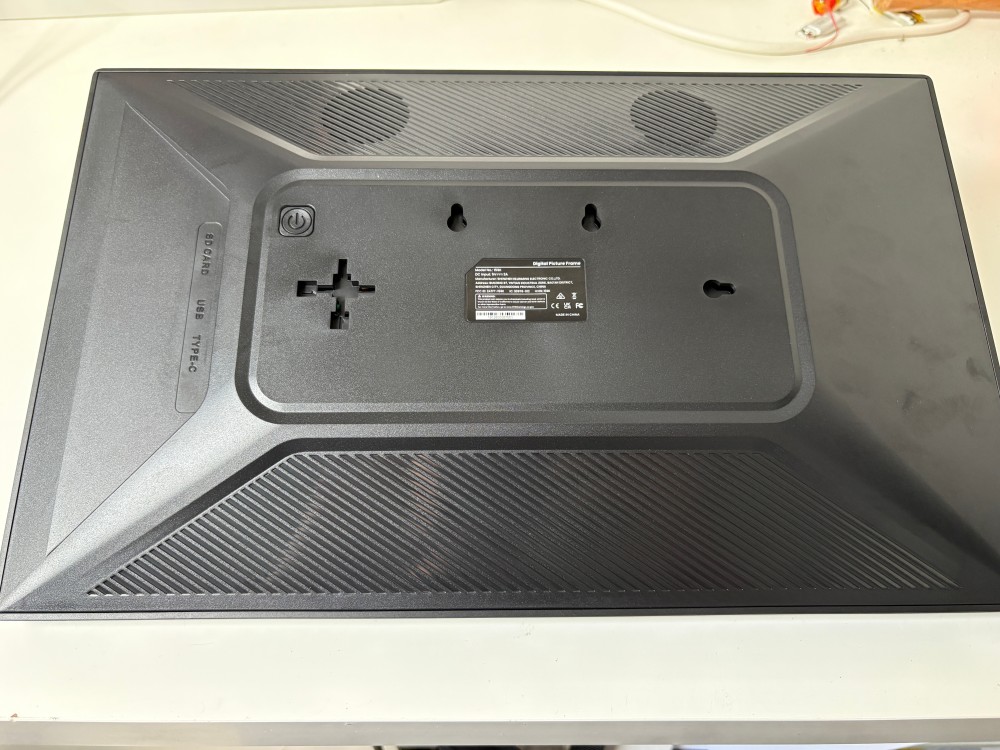
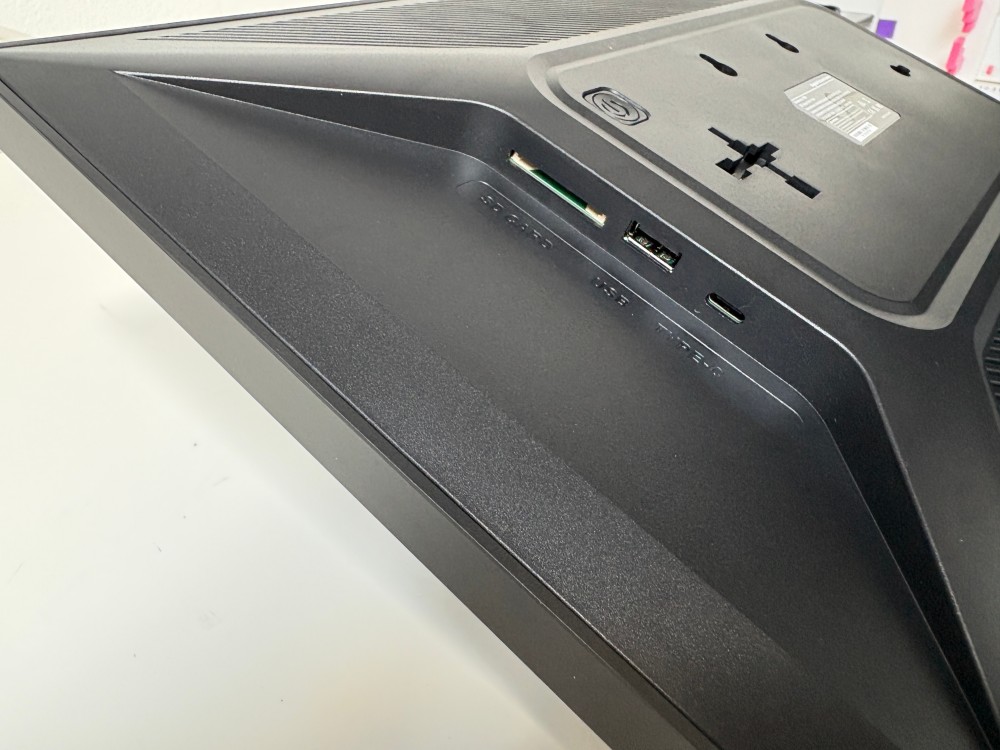
I tried countless cable combinations, including one of those slightly questionable USB-A to USB-A cables. Flipping the USB-C connector made no difference either. Under Windows the USB port was equally dead. Wi-Fi ADB connections were simply rejected. Apparently I wasn’t the only person running into this problem. Looking at the photos on the FCC website, my best guess is that the USB-C data lines simply aren’t connected at all.
The good part is that I bought it from Amazon, so returning it was completely painless. I’ve already ordered another one which is about €20 cheaper.
Maybe I’ll have better luck this time. I’ll definitely write another post once it arrives.